01
Set up the target
Use even lighting on the target and avoid glare or hard shadows. The target must sit firmly with little vibration – otherwise the camera image drifts and detection suffers.
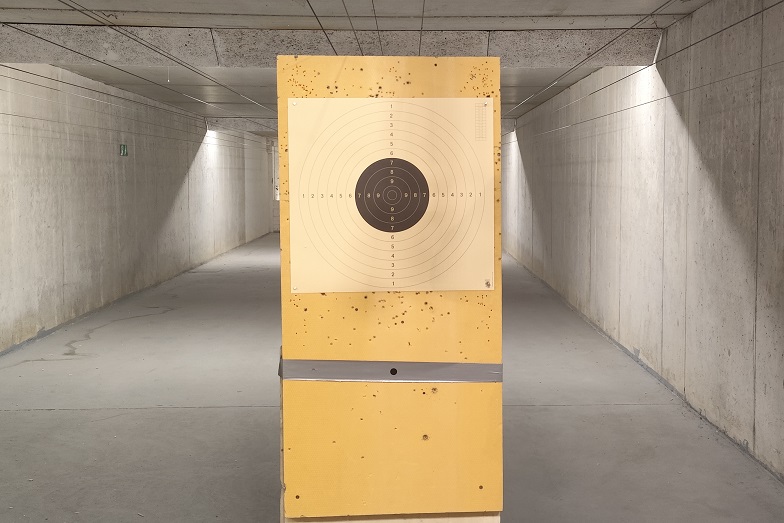
From setting up the target to shooting – step by step.
Use even lighting on the target and avoid glare or hard shadows. The target must sit firmly with little vibration – otherwise the camera image drifts and detection suffers.
Use a stable tripod and place the scope so that vibration on the line stays as low as possible. Aim the scope at the centre of the target’s bullseye.
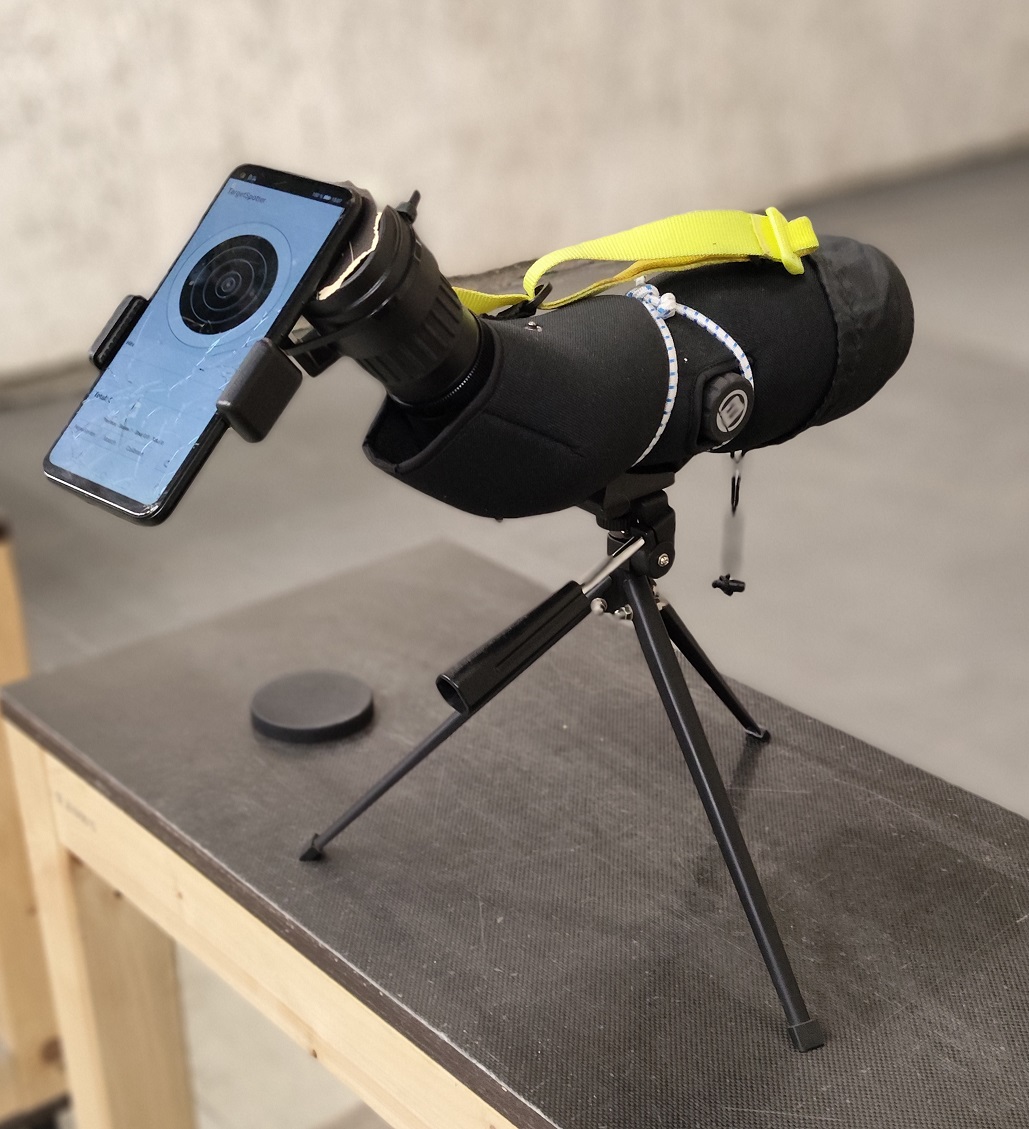
Use a stable holder on the eyepiece. Avoid light leaks between eyepiece and camera. Set the camera to a 1:1 aspect ratio with no digital zoom. The main camera must look straight through the scope.
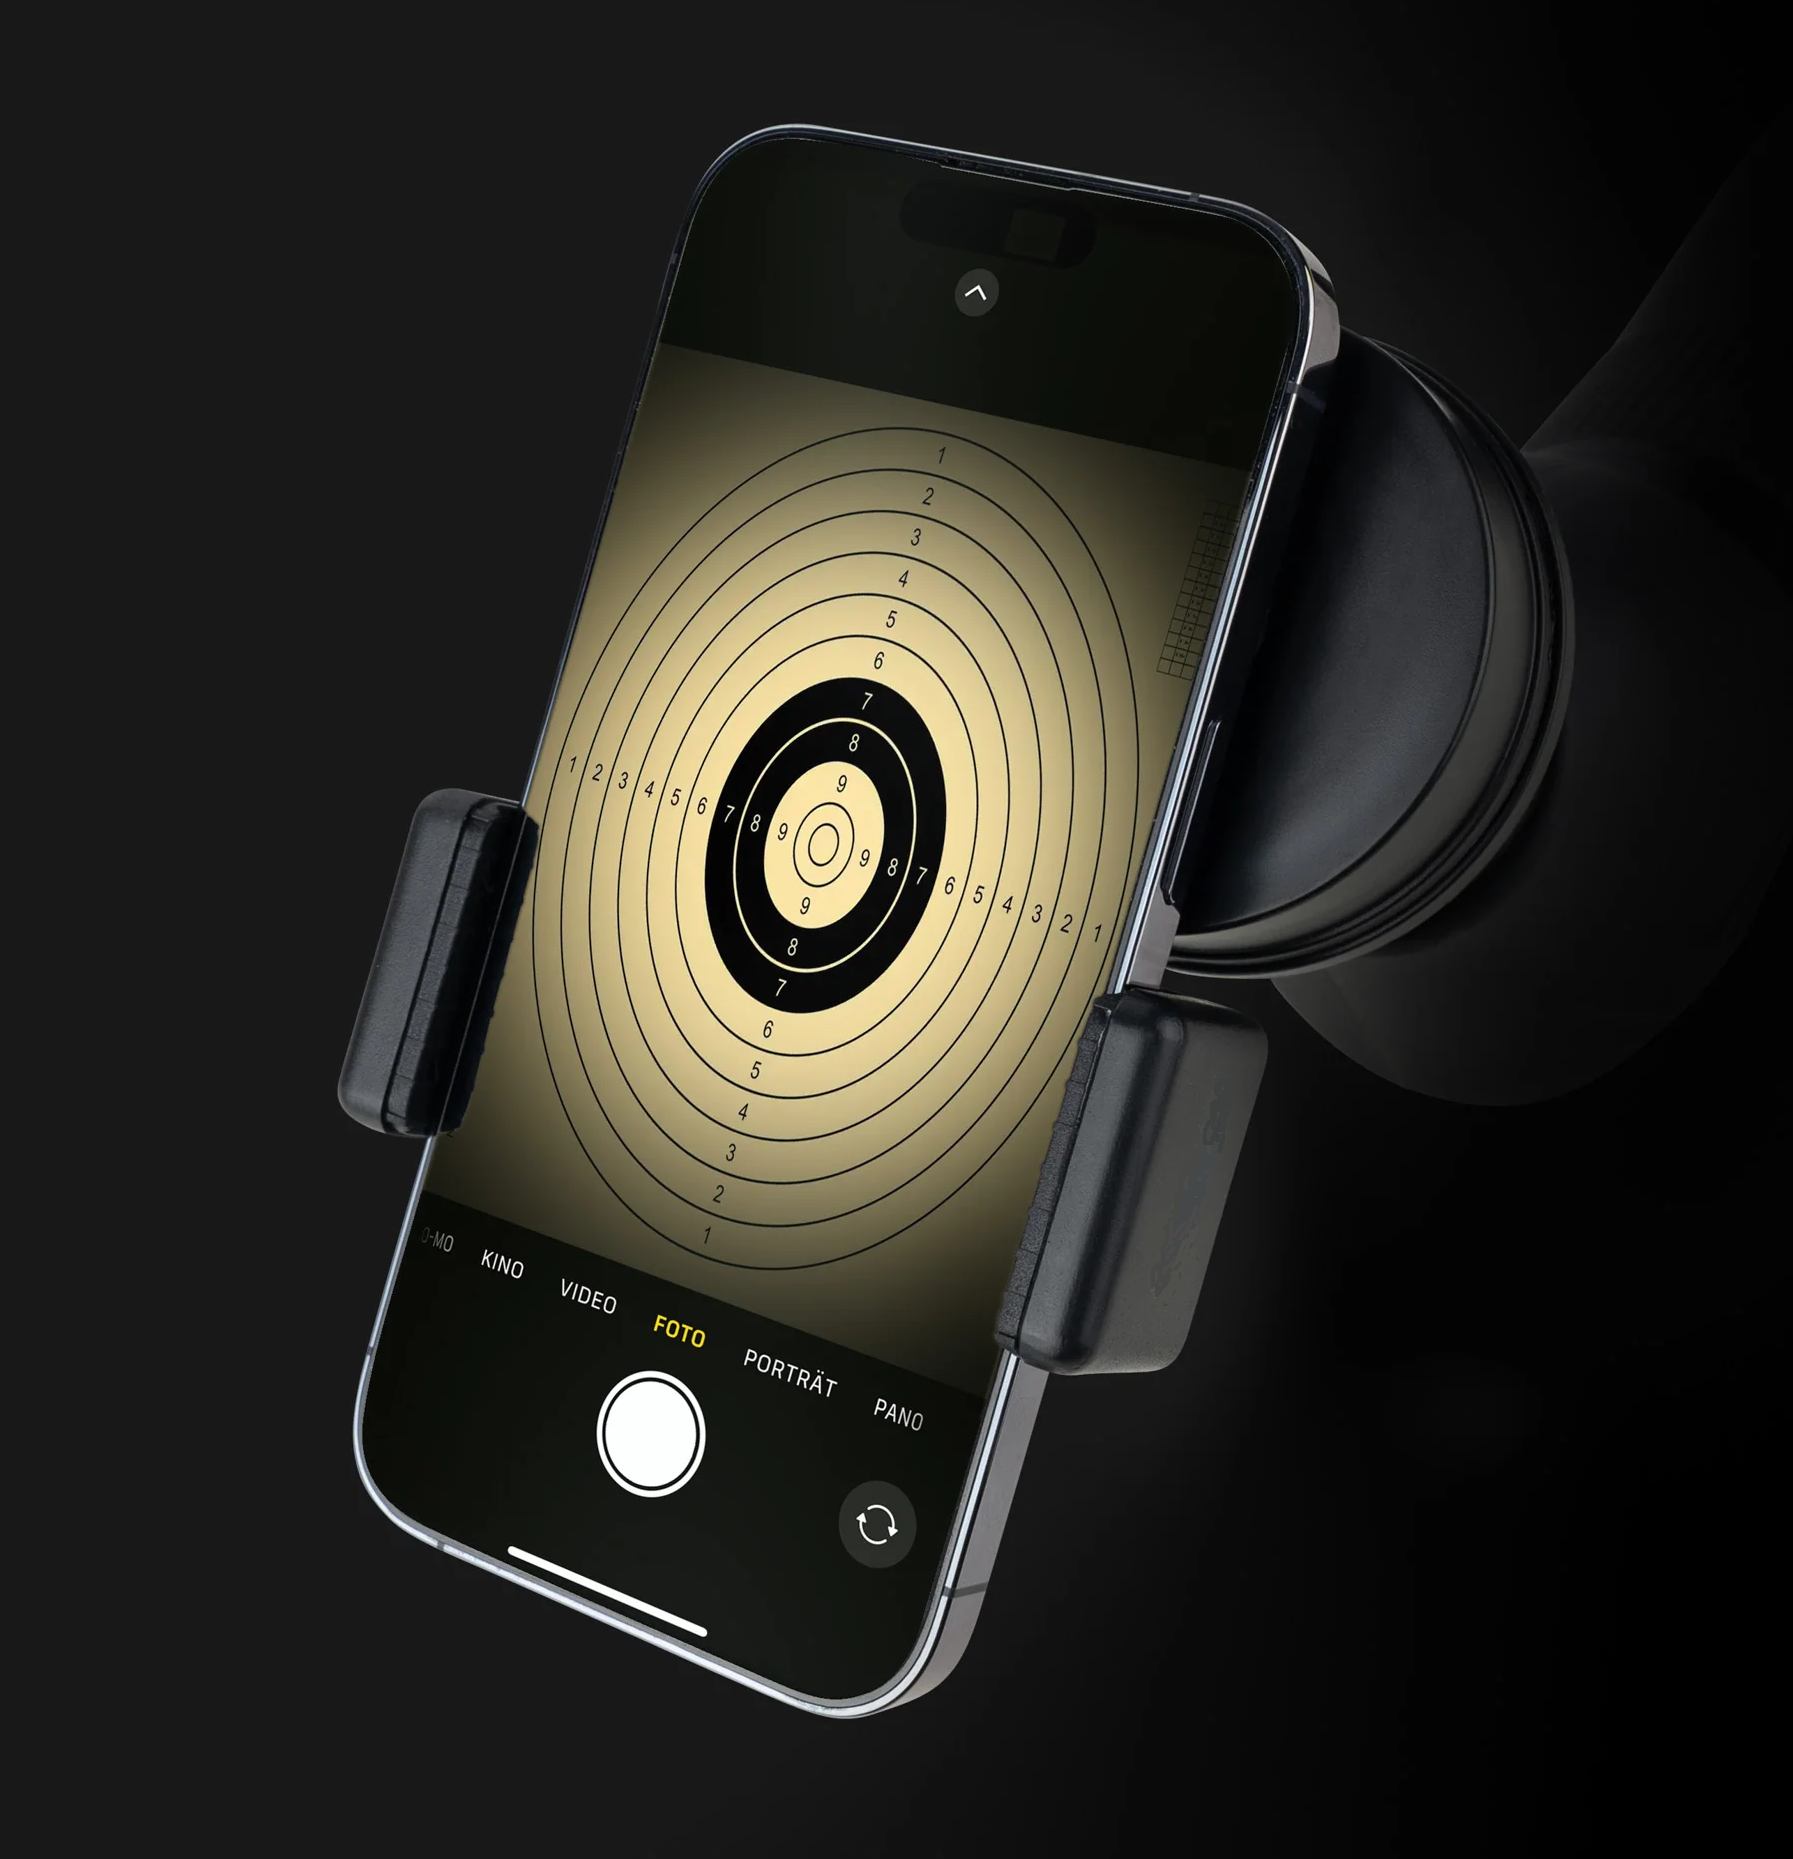
Open the app and choose the discipline you want.
Select target type and caliber. Acoustic shot detection is optional. The free version only offers the 25 m precision target.
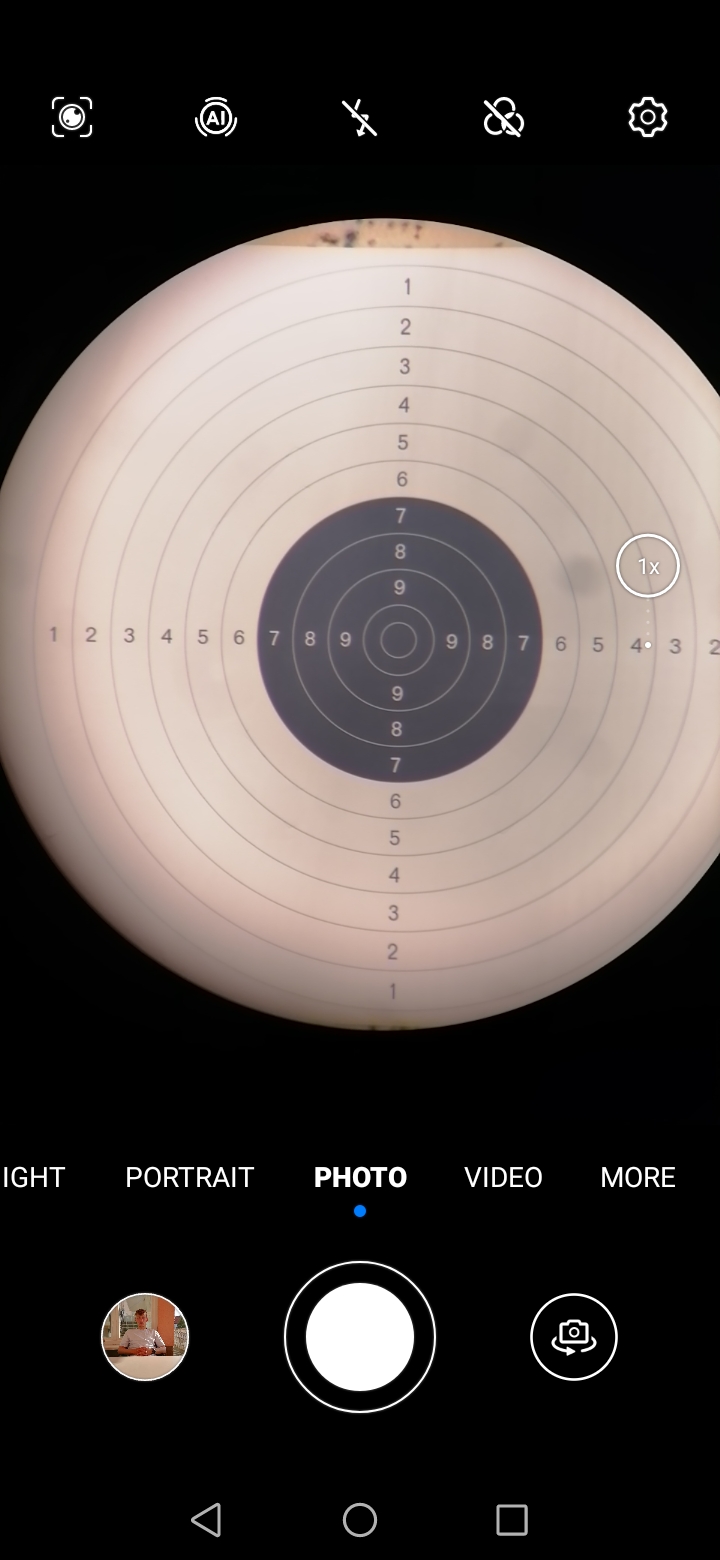
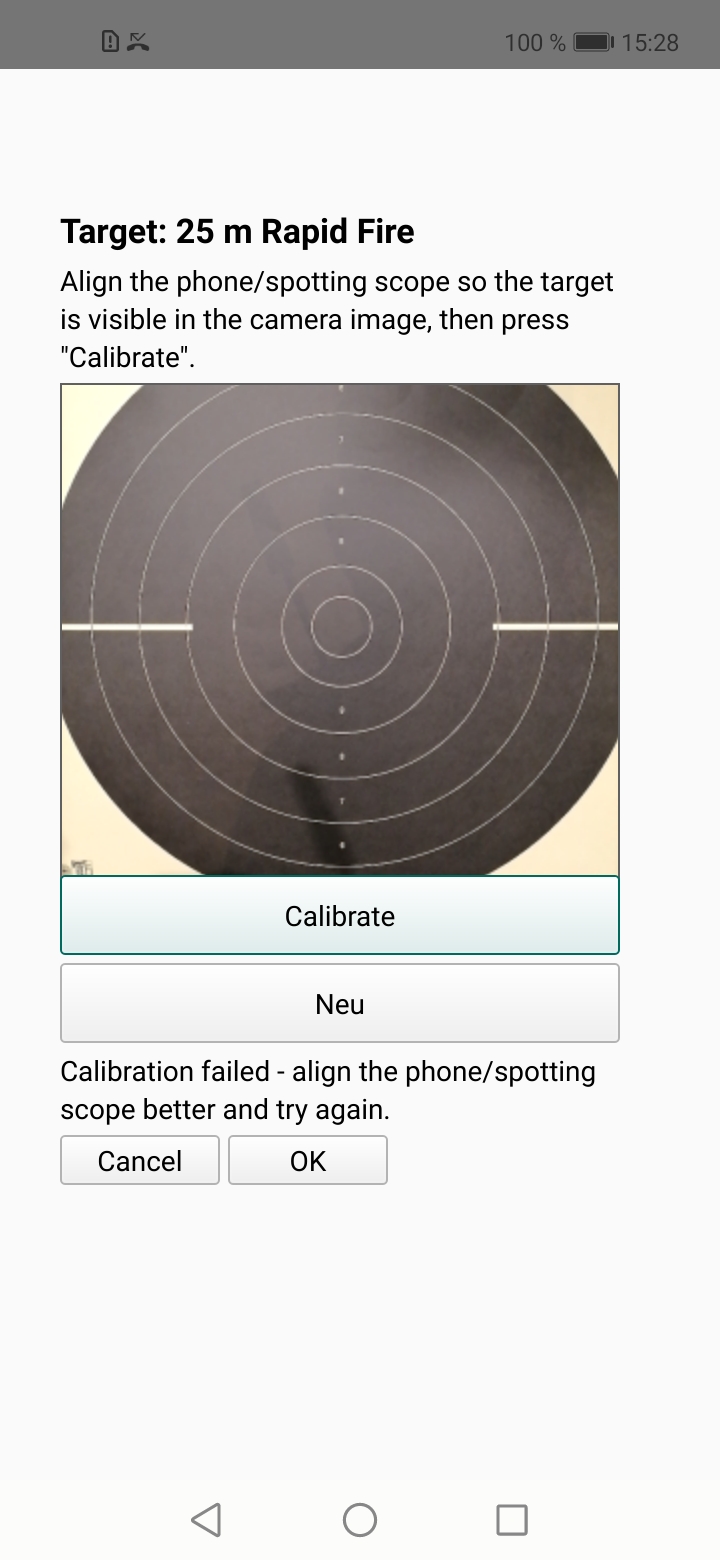
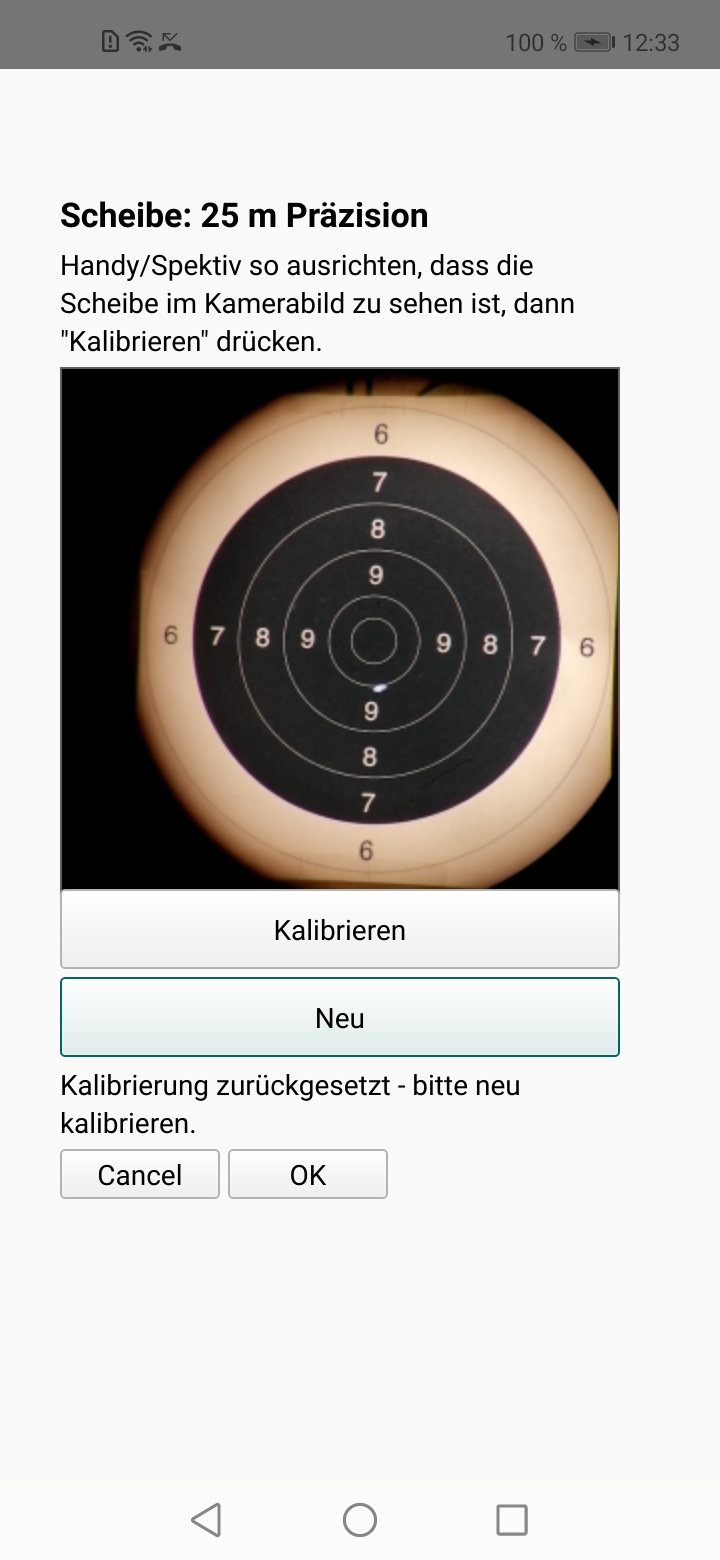
Calibration is the critical step: the app finds the centre and the rings. Align phone and scope so the target is in the camera image, then tap “Calibrate”.
The app detects shots by sound and by image. Shot-sound detection needs microphone access. Each hit appears in real time on the virtual target and in the hit list.
Camera quality, lighting and vibration can cause errors. A wrongly detected hit can be corrected or discarded in the list. Detection does not fully replace looking through the scope.
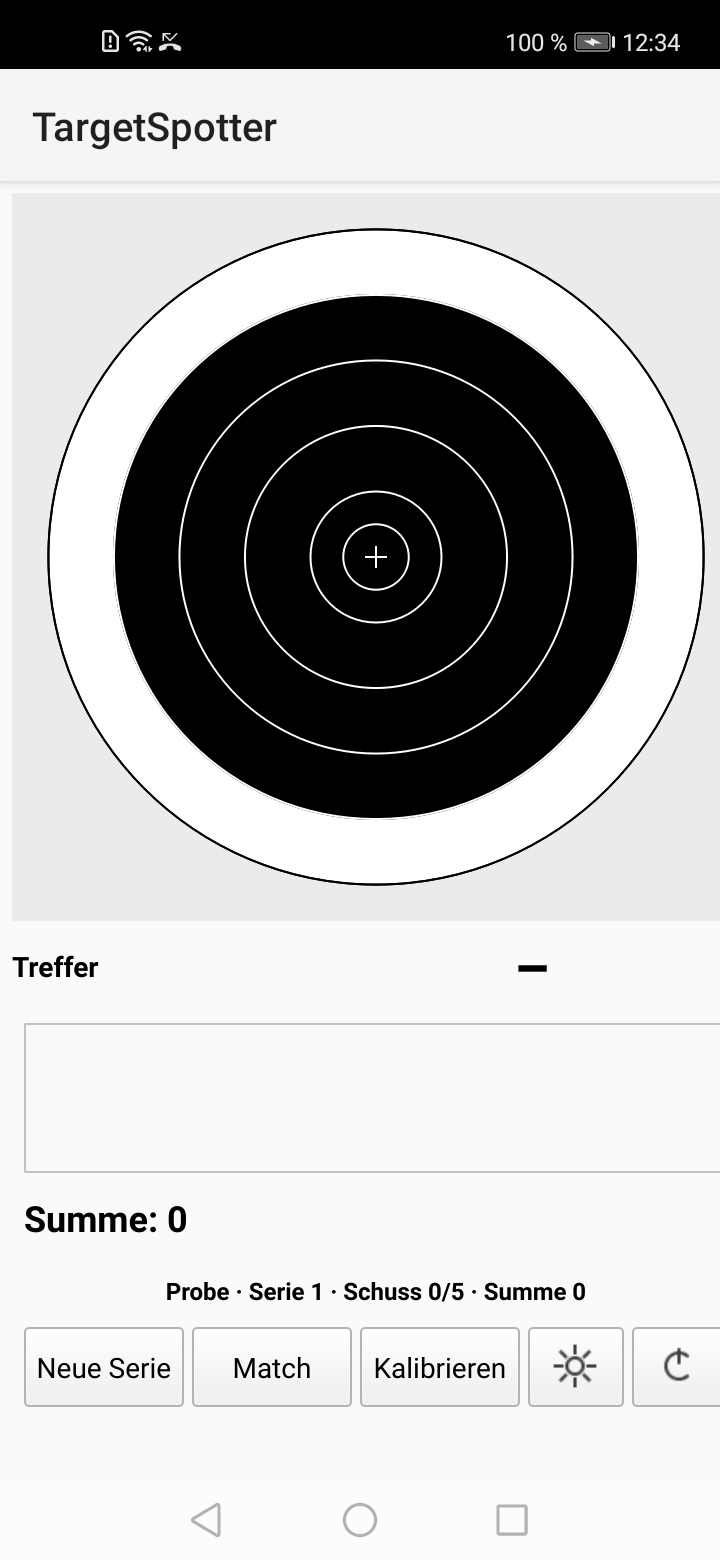
If a shot is missing: check framing, focus and light, then recalibrate if needed. A test hit in the app helps check detection without a live round.
The duel program follows ISSF timing: 7 seconds hidden, 3 seconds visible, repeated five times. The app scores the series automatically.
Avoid touching the smartphone while you shoot – any contact moves the scope and the camera image.